Table of contents
- Strengthening macOS Security in 2025
- How to access your Mac security settings
- 1. How to activate password lock on the General tab
- 2. How to enable FileVault
- 3. How to turn on the Firewall
- 4. How to adjust privacy settings
- How to change your security settings in Safari
- 1. Prevent downloaded files from automatically opening
- 2. Warn you when you are on a fraudulent website
- 3. Prevent websites from tracking your online history
- 4. Clear your browsing history
- 5. Control website behavior and permissions
- Conclusion
Strengthening macOS Security in 2025
Apple continues to enhance macOS security with major updates that address hundreds of vulnerabilities. In 2025 alone, Apple’s security patches have fixed dozens of flaws, many of which could compromise your data or system integrity if left unpatched.
At the same time, macOS threats have surged, with malware like infostealers leading the charge. Reports show a 400% increase in macOS threats from 2023 to 2024, highlighting the growing risks to Mac users.
While Apple’s security features are strong, they work best when paired with informed decisions. You can improve your Mac’s flexibility by adjusting security and privacy settings — but be cautious, as some changes may impact app performance or protection.
For total protection, securing your phone is just as important. Many modern threats target both macOS and mobile devices, so it’s crucial to ensure your phone is also safeguarded against spyware.
That's where Clario Anti Spy comes in. Our Anti-Spy setup feature guides you through a checklist of essential privacy settings on both your Mac and mobile device, helping you reduce exposure to spyware and strengthen your overall protection. This tool ensures your privacy is secured across devices, minimizing vulnerabilities and giving you peace of mind in an increasingly digital world.
Here’s how to use Clario Anti Spy’s Anti-spy setup:
- Download Clario Anti Spy, create an account, and sign in.
- Under Anti-spy setup, select Set up.
- Follow the step-by-step guide to secure your devices and reduce exposure to spyware on your phone.

Trend insight
Upgrading to the latest macOS Tahoe is increasingly important because most security vulnerabilities are only fully patched in the newest release.
How to access your Mac security settings
Your OS X comes with built-in security and privacy features to protect your sensitive data. They are not fixed so you can take control and adjust them to better meet your unique needs and preferences.
To access and adjust the security preferences on your Mac:
- Go to System Settings and click on Privacy & Security.
- You’ll see all the privacy settings on your right.
- Start tweaking them to meet your requirements.


You may find you can’t change some security and privacy settings on your Mac. This is usually because some Mac security and privacy panes are greyed out. You can easily fix this by clicking on the padlock icon at the bottom, then entering your administrative password to unlock it.
1. How to activate password lock on the General tab
You can make sure you’re restricting access to your Mac while it’s unattended by setting up its password lock. This way, no one will be able to log in to your device while it’s in sleep or screensaver mode unless they know the password.
To activate password lock on your Mac:
- Click the Apple icon in the menu bar and choose System Settings.
- Select Lock Screen from the left sidebar.
- Find the Require password after screen saver begins or display is turned off option.
- Click the pop-up menu and select your preferred time before you’ll need to enter your password.


Tip
Keeping it at the default immediately is your safest option.
Make sure to also check the box for Disable automatic login. If this is left unchecked, anyone could log in to your account without a password.
If you have admin-level access, you can apply these settings to all user accounts by adjusting the global security features under the This Computer section.
2. How to enable FileVault
FileVault automatically encrypts data on your hard drive. So without your password or recovery key, accessing the content located here is virtually impossible.
This feature is a great way to secure sensitive data. It’s particularly helpful if you’re always on the move and there’s more of a chance of your laptop being stolen or misplaced. The downside is that it can slow your Mac down. However, you should proceed if you feel it’s worth the increased Mac security and privacy.
Here is how to turn on FileVault on your Mac:
- Click the Apple icon in the menu bar and choose System Settings.
- Select Network from the left sidebar, then click Firewall on the right.
- Turn on the toggle next to Firewall to prevent unauthorized connections.
- Click the Options button.
- Activate the switch next to Enable stealth mode to protect your Mac further, then click OK to confirm.


3. How to turn on the Firewall
If your Mac apps and services need incoming connections to work, they risk exposing your device to malicious software. But a firewall, essentially a network filter, lets you control incoming connections.
While classic firewalls do the filtering on a per-port basis, your Mac does it on a per-application or per-service basis. This provides you with far more flexibility.
To turn on a Mac’s firewall:
- Go to System Settings, then click on Network.
- Select the Firewall tab and toggle the Firewall switch to On.
- Tip: If the option is grayed out, click the padlock icon in the bottom-left corner and enter your administrator password to unlock it.
- Click Firewall Options to customize your firewall settings. You can choose to either block incoming connections for all apps or allow only built-in or signed apps.


Some apps may not work properly if you block all connections. If you’re hesitant to proceed, then only allow connections for built-in and signed apps approved by Apple.
4. How to adjust privacy settings
Your Mac lets you manage the information accessible to others in a network or across the internet. For example, you can control which apps or websites can use your Mac’s current location. So you may need to keep your location accessible to maps, food delivery services, and shopping platforms. But a game or a messenger app doesn’t really need to know where you are.
Here’s how to adjust privacy settings for your apps:
- Click the Apple icon in the menu bar and choose System Settings.
- Click Privacy & Security from the left sidebar.
- Іelect Location Services, then switch on/off the toggles to allow (or not) the apps and services to determine your location.
- Go back, then choose one of the Apple apps on the list to change which third-party apps can have access to each of them.
- Go back, scroll down, and select Automation to choose which third-party apps can control other apps on your Mac.
- Go back, and select Files and Folders and/or Full Disk Access to determine which apps can access your files, folders and full disk.
- Go back, and click on Screen Recording to select which apps can record your screen.


Make changes to the following categories as you see fit:
- Location Services
- Contacts
- Calendars
- Reminders
- Photos
- Camera
- Microphone
- Speech Recognition
- Accessibility
- Input Monitoring
- Full Disk Access
- Screen Recording
- Media & Apple Music
- HomeKit
- Bluetooth
- Automation
- Analytics & Improvements
- Apple Advertising
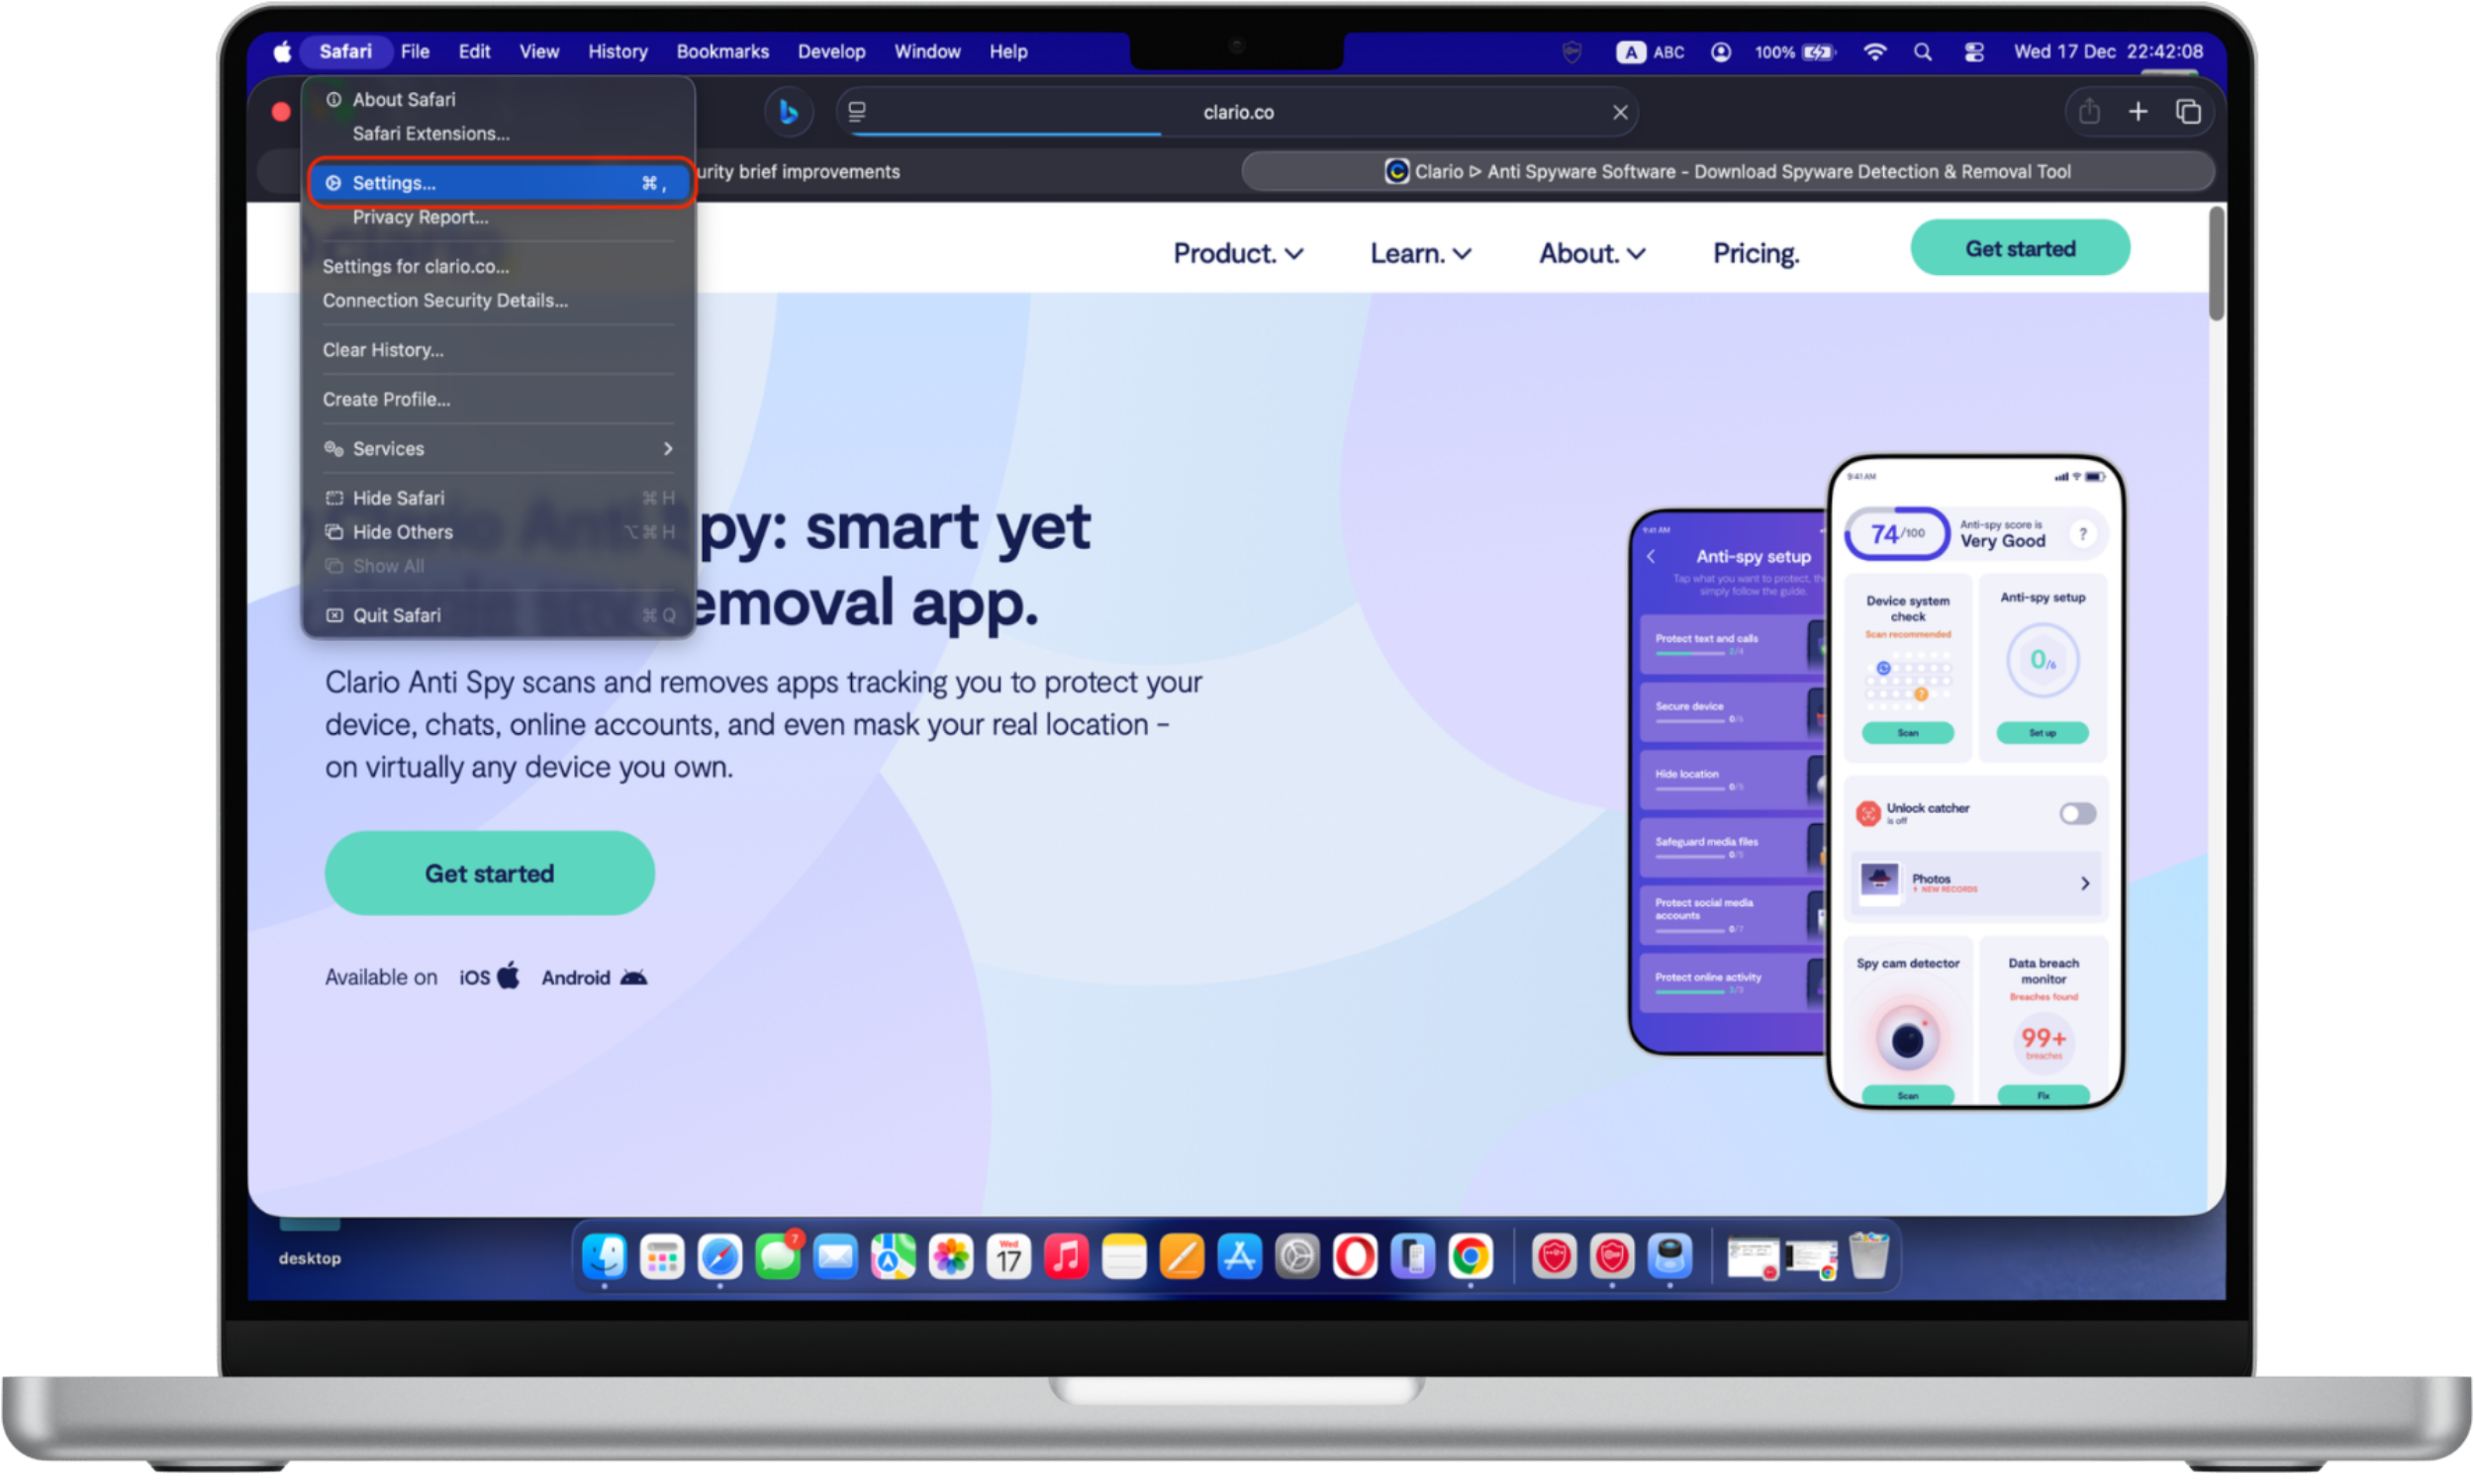
How to change your security settings in Safari
Safari offers advanced settings to protect your privacy and the entire macOS system from online threats. Here’s how you can...
1. Prevent downloaded files from automatically opening
Sure, Safari can detect if the downloaded files are ‘safe’ or ‘unsafe’, but it’s far from perfect. Restricting automatic file opening is a more sure-fire way of avoiding accidentally opening a virus.
To turn off automatic downloads opening:
- Open Safari.
- Click Safari on the menu bar and select Settings.
- Go to the General tab.
- At the very bottom, uncheck the Open “safe” files after downloading checkbox.
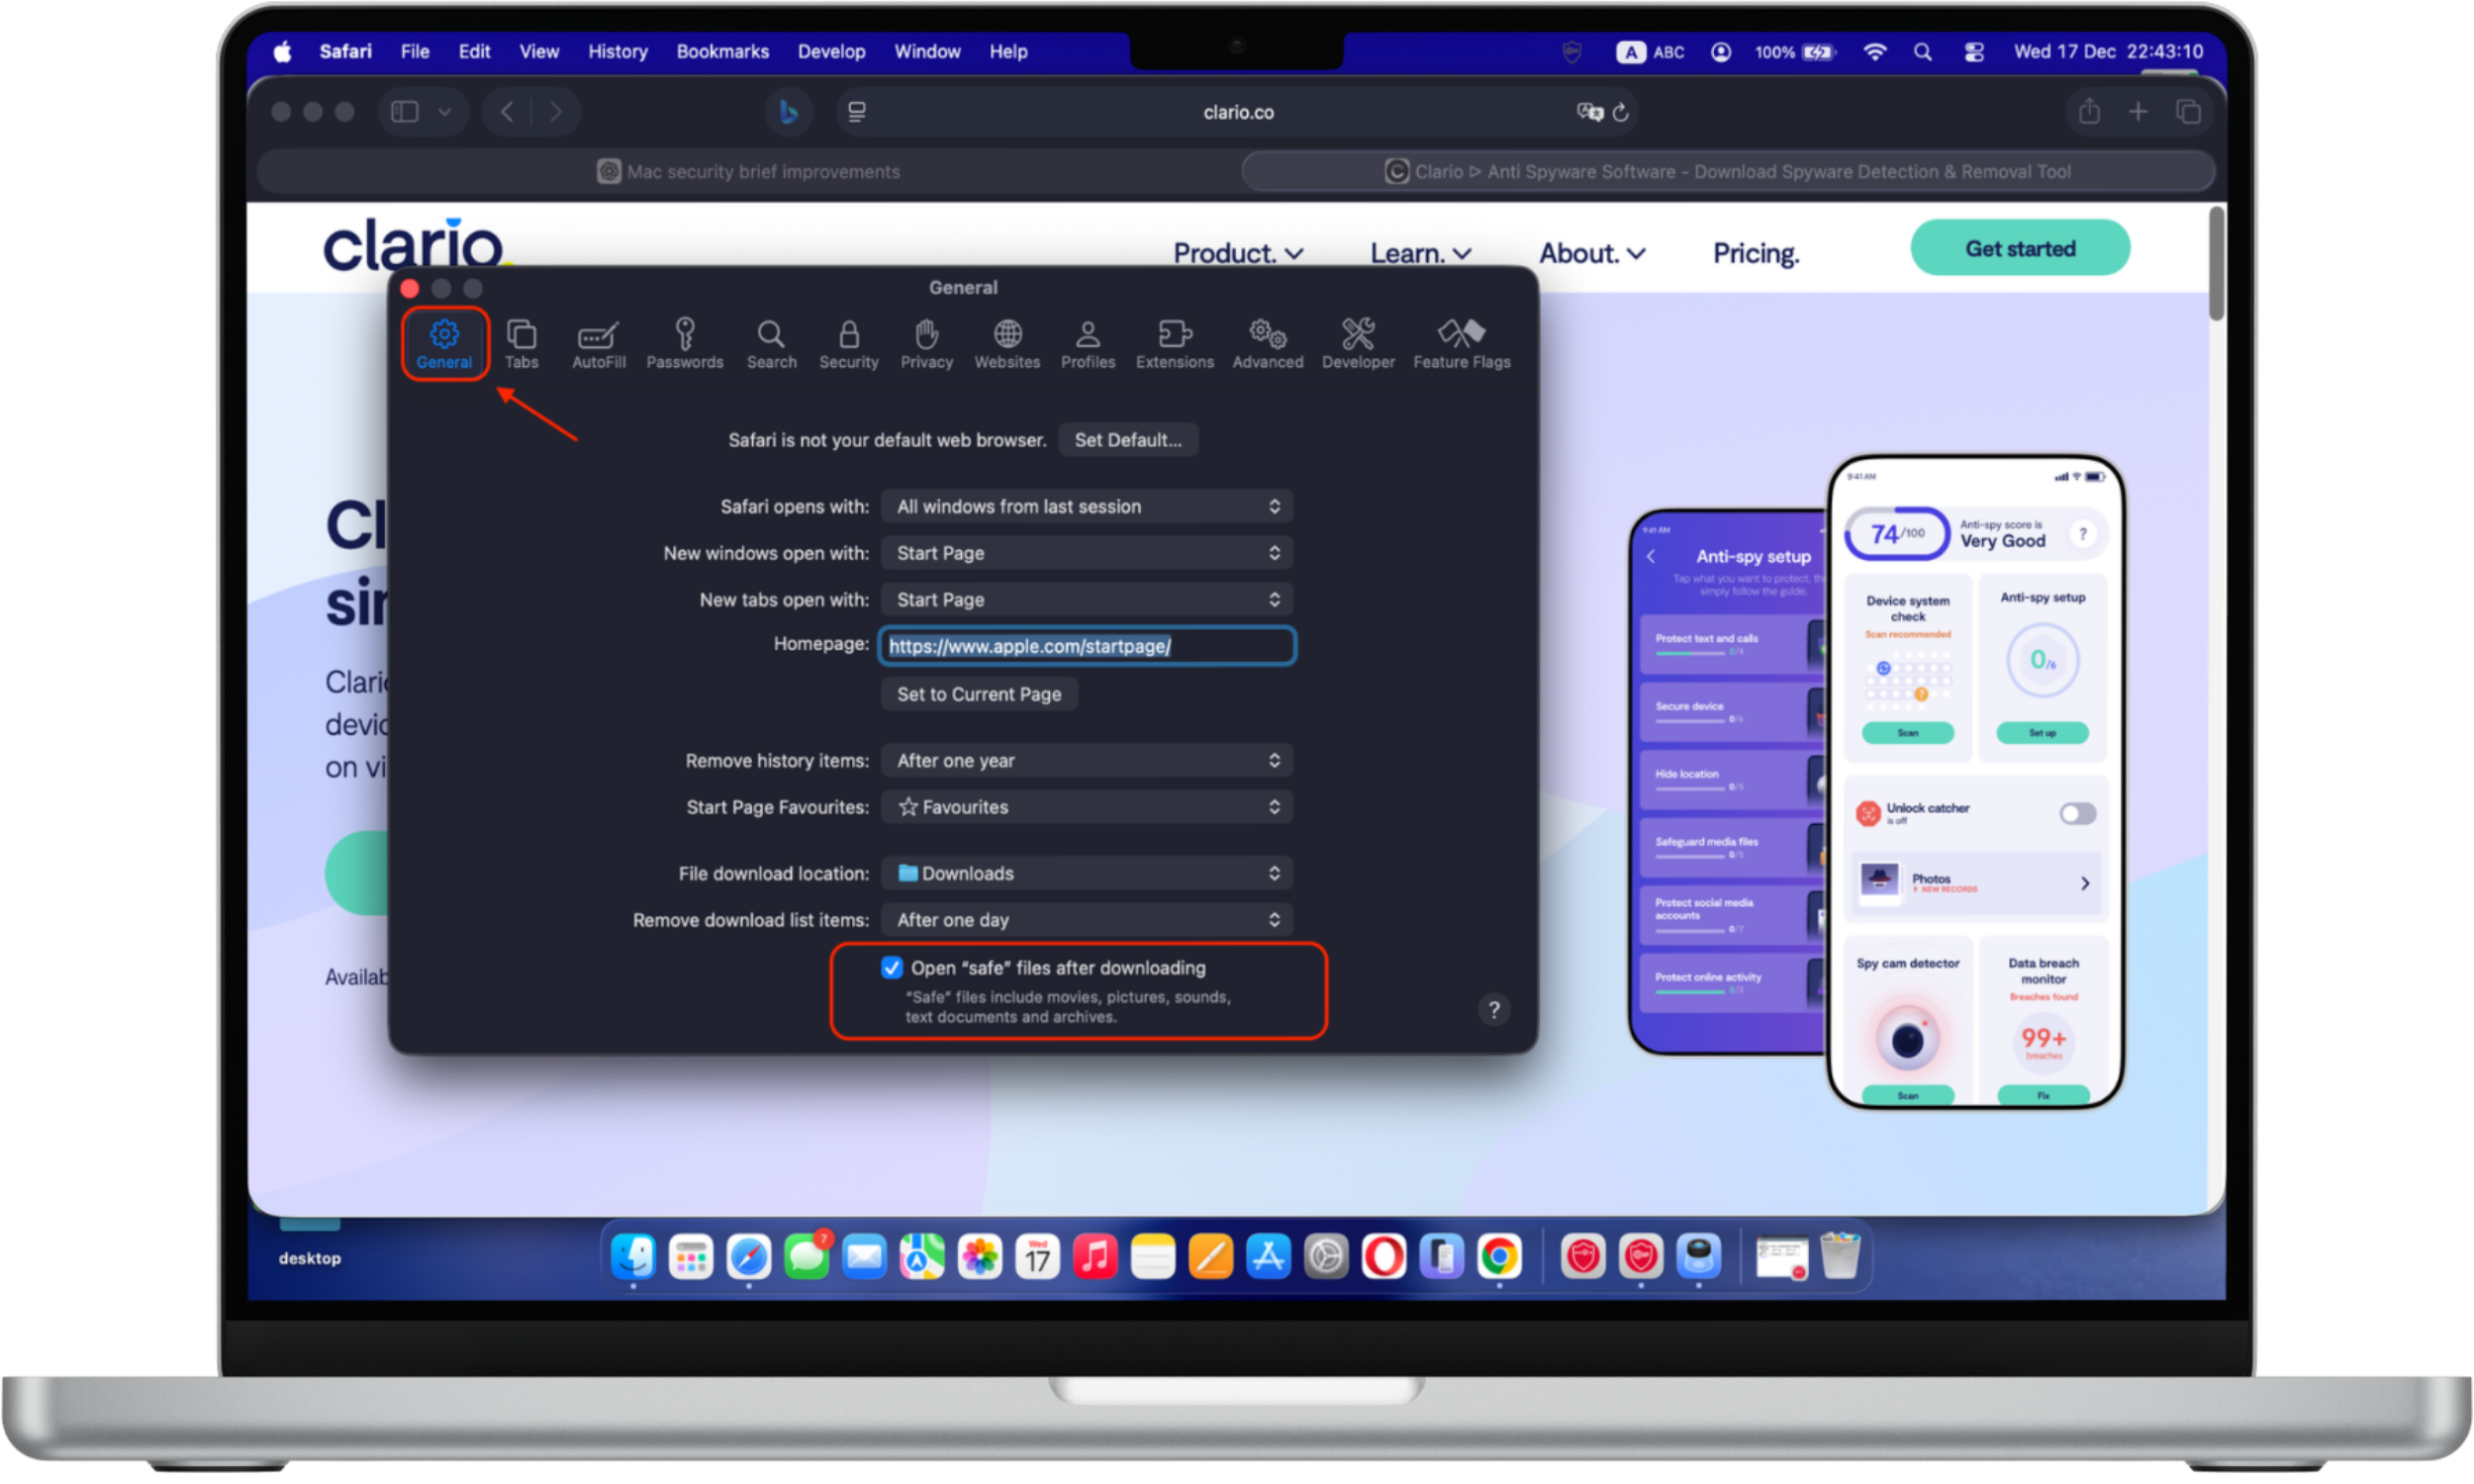
Don’t worry, your safe files will still download as usual.
2. Warn you when you are on a fraudulent website
Safari can verify if a website you visit uses an encrypted connection. If it doesn’t respect the basic safety rules, Safari will notify you that the page might be dangerous and advise you to leave.
To enhance protection from phishing attacks, enable the fraudulent website warning in Safari. Here's how:
- Simply go to Safari Settings.
- Click on Security.
- Check the Warn when visiting a fraudulent website.

3. Prevent websites from tracking your online history
Advertisers use cross-site tracking to learn more about you so they can show you more relevant ads. While it’s not inherently wrong, you have every right to keep your information private.
To restrict cross-site tracking:
- Open Safari.
- Click Safari on the menu bar and select Settings.
- Go to the Privacy tab.
- Check the Prevent cross-site tracking checkbox.

4. Clear your browsing history
If you decide to delete your browsing history, you can do it for a particular website or all websites at once.
To clear your browsing history:
- Open Safari.
- Click Safari on the menu bar and select Settings.
- Go to the Privacy tab and click Manage Website Data. You will see the list of all the websites with your browsing history.
- Select a website, then click Remove to delete its history.
- Click Remove All to delete the history for all websites for all time.

5. Control website behavior and permissions
Websites can show pop-up notifications and may even use your camera, microphone, or location when you visit them. We advise you to change your preferences to make websites ask your permission before doing any of these things.
To control website permissions:
- Open Safari.
- Click Safari on the menu bar and select Settings.
- Go to the Websites tab.
- Select the Pop-up Windows option from the list on the left.
- On the right, select the website you would like to manage and choose the option from the drop-down menu.

Conclusion
Mac security alone isn't enough to shield you from evolving threats like spyware. While macOS offers robust protections, fine-tuning your settings is crucial. With Clario Anti Spy, you can effortlessly strengthen your defenses by following an easy, step-by-step guide that secures your phone. Don't wait until it's too late, take control of your privacy now and ensure your devices are protected from the latest threats.
Read more:


